Setting up the Computer for programming
Where to code? Let us set up C of the Computer. The C programming Language.
The Third one, the most demanded and the toughest post for me to keep it easy. Get ready for the complex! In this part, we will choose a programming language, then we would set up our computer for the programming environment and will write our first Program. This is going to be very interesting as the real stuff begin from here. If you are new to this, Checkout the Index of Newbie Programmer (here). Read all the previous parts and you would understand all the things easily. If any trouble is happening in performing the below steps, please Comment.
C of the Computer is C itself!!!
To learn everything, we must start from the very basic, from A of ABCDs, P of Programming So C of Computer but coincidentally it is the C itself. I am talking about the C Programming Language. I thought a lot about it. To learn just coding I could choose BASIC, a very simple language or even Scratch, a tool in which you don’t have to write code for programming! But, my plan is to include most of the computer science in this series. We would learn different algorithms too and for everything about the future of this series, The C programming language is The Best Fit. It’s not only easy, simple and minimal but also fast, popular and its everywhere.
Now we will setup our computer for C programming.
Depending on the operating system you are using, you will need to download some softwares first. We all will use same kind of software regardless of the operating system so that everybody learns the same and no confusion occurs.
Method 1: GCC (preferred method)
One way to set up the programming environment is to install GCC, the ‘GNU C Compiler’. It is very easy to use. But a little hard to set up. But I recommend this method as it is the best one.
Getting GCC
The GNU C Compiler, is actually a tool for LINUX/UNIX like operating systems. But it is so perfect and popular that now it has ports for every operating system. Now I have already written above that installing GCC is a little hard. So be patient. Once it is installed, It would be easier. Depending on your operating system:
On Windows:
You just need to download something called ‘MINGW’. Go to “www.mingw.org” Or if not found, search google. On the site, you will find a button: “download installer”. Click it and you will download a very small file. This small file is actually an online installer. So your internet connection should be ON. Now run this installer, You will see something like this:  Click on Install. Immediately you will get something like this:
 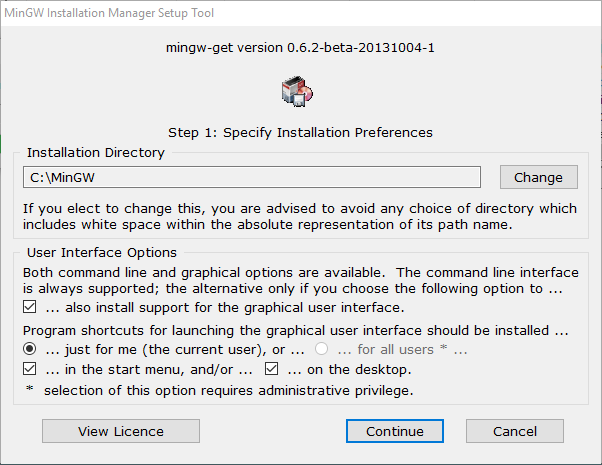 It will ask you some options, you can set up as you want, or select as I did above in this pic. Then click on Continue. It will start installing or loading files from the internet. After a few minutes, you may click finish, and an Installer Manager will open like this:
 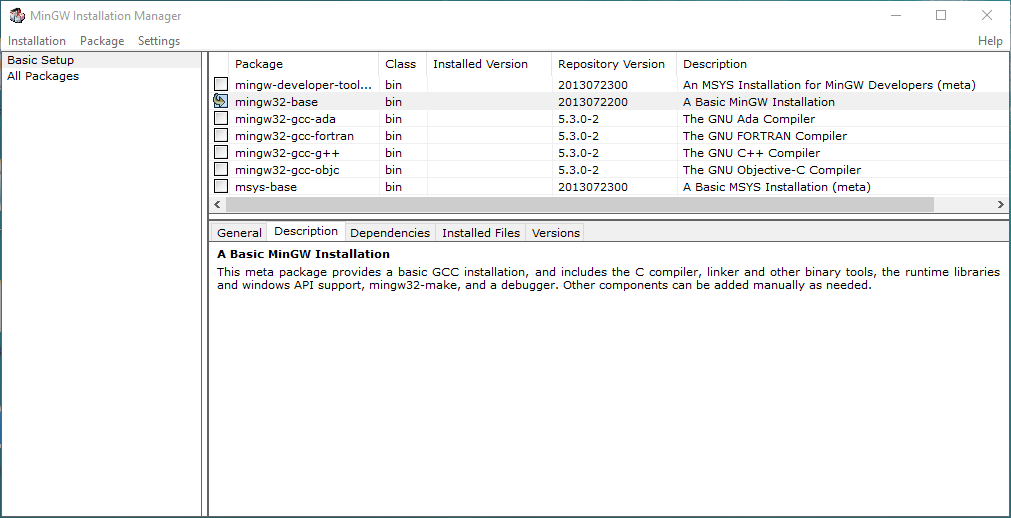 (If you want to start this manager on your own, it is in the installation directory which we have selected above, i.e. C:/MINGW) Click on the mingw32-base, Select mark for installation, and you will get exactly like the above picture. Now click on the ‘Installation’ (top left title menu), and select ‘Apply Changes’. A dialog box will appear like this:
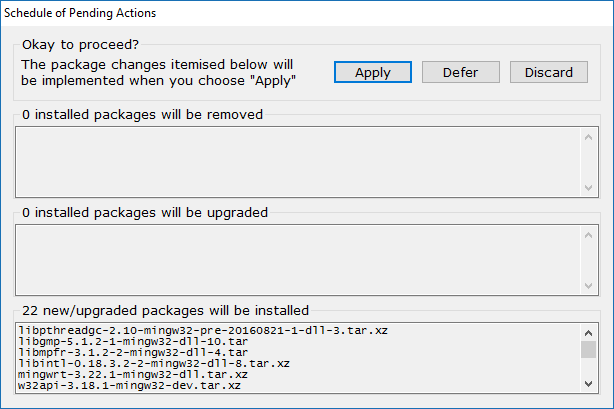
Click Apply. Then it will start downloading and installing the required files. You need to wait until it is finished. After that you will get something like this: 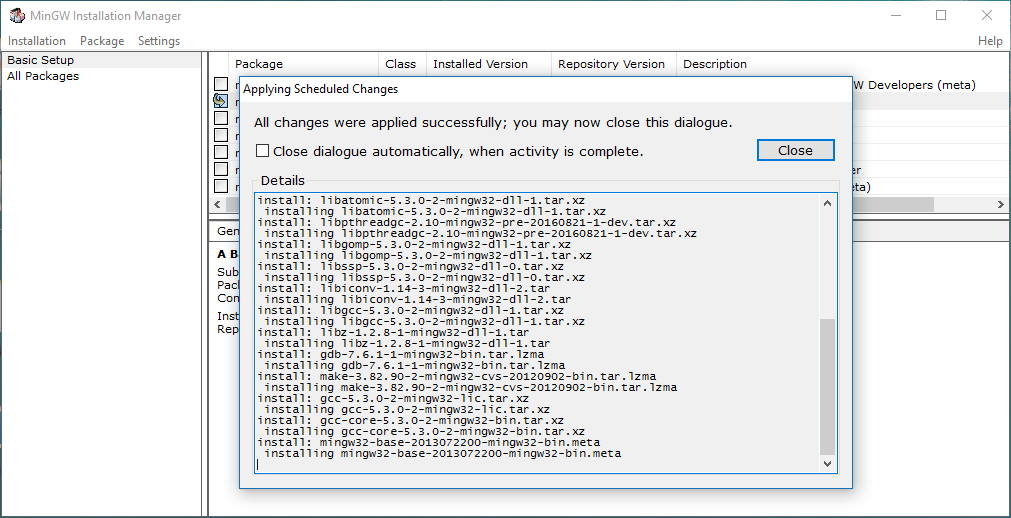 Now click on close, and exit everything. You can now check the installation directory, C:/MINGW in my case. Open it, you must see a folder “bin”. Open that too, you must find a program “gcc”. If it is there, then everything is okay! Now there is one more simple thing to do it will make process more easy later. Just open command prompt (cmd), from the start Menu and enter this:
set PATH=%PATH%;C:\mingw\bin
You may change the C:\mingw\bin directory wherever you have installed. Then type GCC -v, you will see: 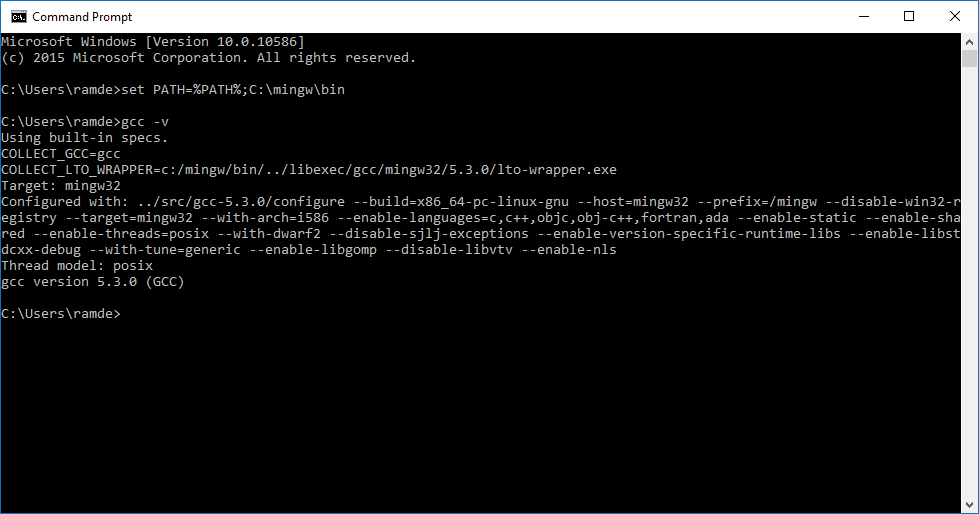 The installation process for windows in finished!!!
On LINUX:
Well GCC is very popular with linux people and it must be already installed. Just open terminal, and write “gcc -v” press enter, you will find the version details etc. If not so, then installation is also very easy, internet should be connected, just open the terminal and enter: On Fedora likes:
yum install gcc gcc-c++ autoconf automake
On Ubuntu likes:
sudo apt-get install build-essential
Well if you have any other distribution, it must be already installed or just search on google, it will require just a few words to be typed and all will be set!
Method 2: Using an IDE
Using GCC is better every time, but for handling too large projects, we can use this big software packages called IDE. For our learning, I DO RECOMMEND METHOD 1 and NOT THIS METHOD 2. I am writing here this only as an alternative to the above mentioned method.
Getting the IDE
IDE means Integrated Development Environment. Don’t think too much, it’s just a kind of Notepad where we will write our code and it will contain some extra features that will increase our productivity.
We would use Code::Blocks IDE its cross-platform so it would run everywhere. Actually I found it easy to install than other. Well it doesn’t matter so much as we have chosen the same language.
Download Code::Blocks from here (click me) based on your own operating system.
Most of the viewers of this are using Windows So I am giving a step wise step guide for Windows.
Setting Code::Blocks on Windows
- Go to the download page by clicking here
- Click on the Download the binary release.
- Select your OS, here for windows, we will download Codeblocks-mingw, click on the sourgeforge link at the end of the line. You can download from this link (click here) directly but following the above steps, you will get the latest version.
- The download will be automatically started. It might be around 98MBs.
- Install it, just follow through the installer by clicking nexts and accepting and also enable all the options available.
- It may ask you “Do you want to run Code::Blocks Now?” Click on yes.
- It may also Ask you to select Compiler, You select GCC.
If not so, Follow this process after installation
- Run the application.
-
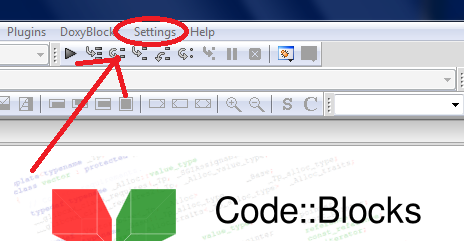
Go to settings > Compiler..
-
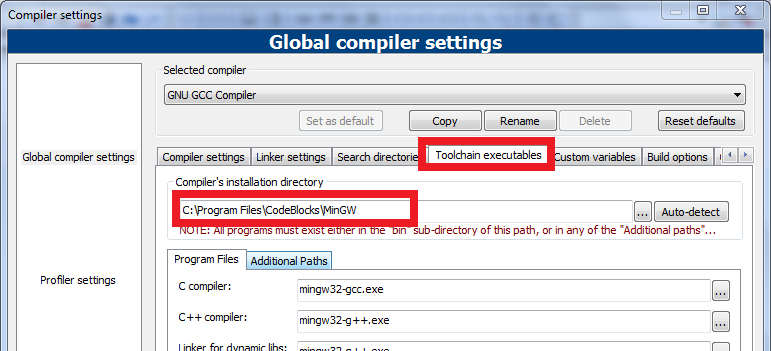
In Compiler options, select the Toolchain executables Tab
-
Set this directory yourself, search for it on your computer. It’s in the installation Folder. May be mine version work.
- Click OK and everything is set Now.


For other Operating Systems and more info, Click here.
Writing the first program!
Now we will write our first program. You already know about it if you are connected with this series, it’s called the famous Hello, World! Program.
Using GCC
Open Notepad, or any text editor. Write this:
#include <stdio.h>
main()
{
    printf("Hello, World! \n");
    getchar();
}
And “Save As” - ‘hello.c’ to a directory. Let’s say : “C:\code”
So now you have a file in “C:\code” folder, named as hello.c, and it has the above code.
Now open command prompt, and enter this:
gcc C:/code/hello.c -o C:/code/hello.exe
(it’s -o, o for orrange, not zero)
Now check the C:/code folder again, you will find a file hello.exe, run it and you will see:
For other operating systems, only the directory name changes, other steps are exactly same.
But before going further, let’s discuss the gcc command:
gcc "path to code file" -o "path for output file"
So now let’s say if you have any file named “test.c” in a folder like “D:/school/programs” and you want to generate the output by name “soft.exe” in “E:/examples”, just write this:
gcc D:/school/programs/test.c -o E:/examples/soft.exe
Then you can run the out put file in the E:/examples folder.
Using CodeBlocks
Follow these steps:
- Start Code::Blocks.
- Go to File > New > Empty File from the top menu.
-
Write this:
#include
main() { printf("Hello, World!"); getchar(); }
Now follow these steps:
- Go to File > Save File As
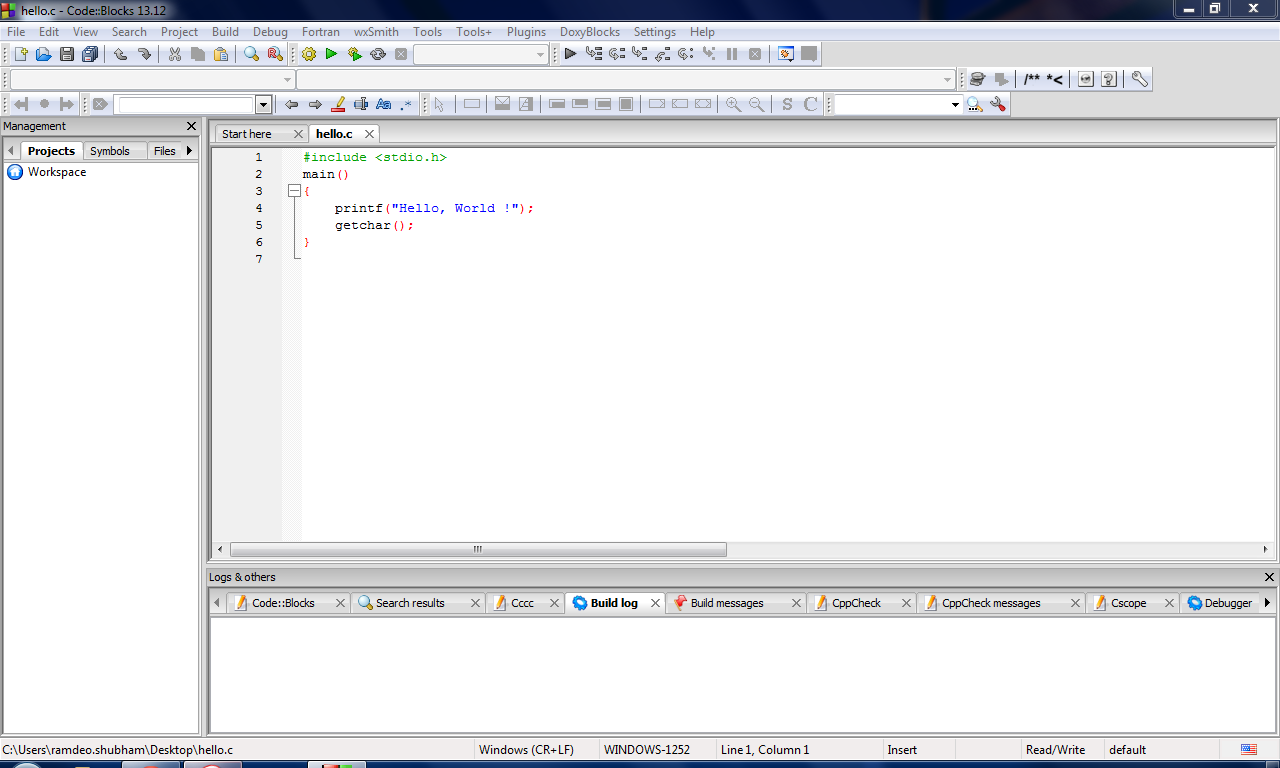
- Save it as hello.c (don’t forget to put .c at the end).
-
Now everything will look like this: Click on the image to view larger.
- Now go to Build > Run or press Ctrl+F10
- It will ask you to build the program, Click on Yes.
-
Finally, you will see something like this:

It’s the Computer saying Hello, World!
So we have done our first programming. But Still we haven’t discussed what we have written. In the next part we learn more about the Code Part. And will do some more cool examples.
Previous Chapter: « The Computer Programming LanguageNext Chapter: Beginning C programming »